There are many different ways to begin your foundational row, but when it’s time to add the trim, beginning you foundation row correctly can make all the difference on garments, blankets, or shaped pieces.
Most new instructional crochet books will demonstrate the basic stitches most frequently used, such as single, double, half-double, etc., but by properly identifying the loops of the chain, you can ensure that your foundational row is started correctly.
Depending on your pattern stitch requirements, work your chain to the desired length. For example, if the instructions direct you to work a multiple of 2 plus 1, you would need at least 3 chain stitches to begin. If you plan to use a single stitch throughout the piece, you need to chain the desired length, and work from there.
Once you have completed the desired number of chain stitches, it’s time to start your foundation, or first row.
When you look at the chain from the top, you’ll notice two loops (see Illustration 1). The loop closest to you is the front loop, the loop furthest from you is the back loop, the bottom loop is essentially the post.
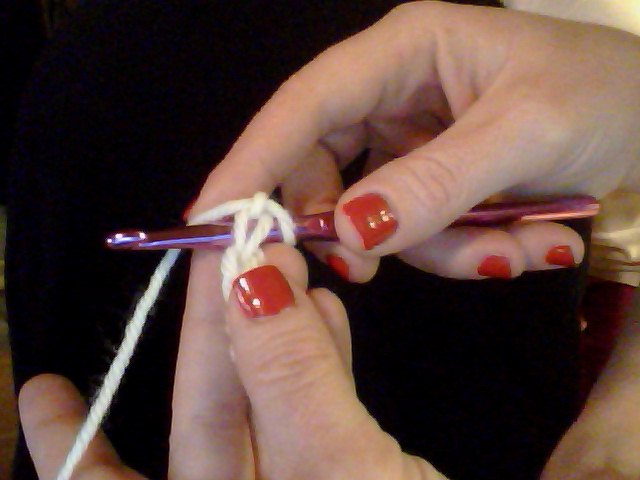
Illustration 1
To begin correctly, you must insert the needle through the space created by the bottom loop. The needle will pass under both the front and back loops of the chain stitch. You can then complete the stitch.
Taking the time to place the foundational stitches correctly provides an essential base for identifying and counting the stitches when attaching trim. This not only makes your work look more professional, it enables the trim to lay properly on the garment or blanket.
By establishing your first row of stitches correctly, you assure that your crochet design will finish perfectly.
